Decorating and Carving
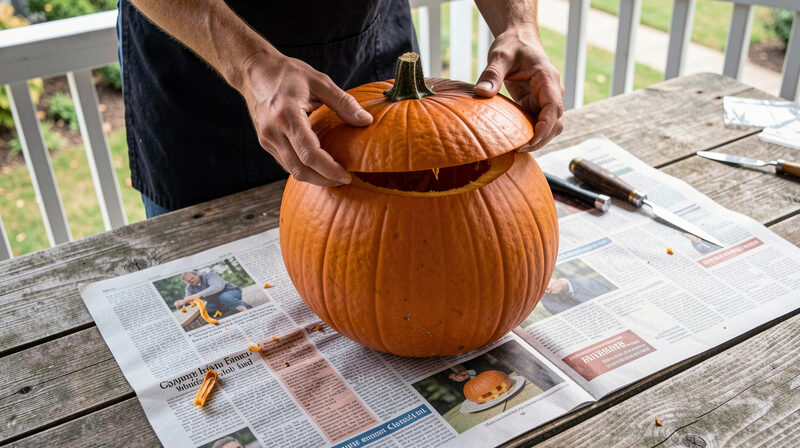
Making October is a practical business. A pumpkin has to be chosen, hollowed, carved and kept from rotting before the thirty first. A porch has to be lit without setting anything on fire. A display has to be built from what a house already owns, or from a little spent well. This section covers that work in the order it is actually done.
What this section covers
Two pages carry the strand. How to carve a pumpkin that lasts walks through choosing a fruit with a firm shell and a sound stem, cutting a lid that goes back on straight, thinning the wall, carving a clean pattern and slowing the rot afterwards. The jack o lantern explains where the lantern came from, from the carved turnip of Ireland and Scotland to the North American pumpkin, because knowing why the thing exists changes how it is made.
The order of work
Most carving goes wrong in the sequence rather than the skill. People choose a pumpkin by size alone, cut a lid that collapses, leave the wall thick so the light is dim, and then leave the carved fruit in a warm room. The fix is a fixed order: pick, wash, cut, scoop, thin, mark, carve, dry, seal, light, store. Each step is small, and each one makes the next easier. A pumpkin cut in that order on a Saturday can still look right on the thirty first.
Light, not fire
The second half of the work is the light. A real candle inside a pumpkin is a flame inside a paper lantern on a wooden step, and it is the single most common cause of Halloween accidents. A battery light or a small LED candle gives the same glow with none of the risk, and it can be left running while the house is out. The porch pages set out the rest of the lighting, from path markers to window silhouettes, always with the same rule: nothing that can be knocked over and nothing that runs hot.
Building a display from what is already there
A good Halloween display is not a shopping list. It is a plan. A bare porch becomes a scene with one carved pumpkin, one light and a few fallen leaves. A window becomes a face with a paper silhouette and a lamp behind it. A path becomes a route with small lights along the edge. The pages here prefer a few strong elements to a crowded front garden, and they explain how to place them so that a visitor walking up sees the whole picture at once.
Weather, wildlife and neighbours
October weather decides a lot. Rain softens paper and rots a carved pumpkin quickly, so anything made of card belongs under cover and anything carved belongs on a sheltered step. Wildlife matters too: a pumpkin left out overnight will be visited, and food left on a path will attract animals that then return. The practical pages mention these points without turning them into a lecture, because a display that survives the week is simply a better display.
Where the section sits in the site
Decorating and carving is the third of four strands. It follows Origins and folklore and Vintage Halloween, and it borrows the symbols of both: the lantern from the first, the cats and owls and paper shapes from the second. It leads on to Celebrating and safety, where the finished porch meets the evening and the visitors.
For the growing side of the pumpkin itself, the Royal Horticultural Society's guide to growing your own pumpkins explains how the fruit is cultivated before it ever reaches a doorstep.
A word on materials
Three materials cover almost everything a home display needs. Paper and card are cheap, printable and easy to shape, and they are the right choice for anything under cover. Fabric is softer and can be draped, but it holds damp and should stay indoors. Light is the third material, and it matters as much as the other two, because a plain pumpkin lit well looks better than an elaborate one lit badly. A household that plans around these three things rarely needs to buy much at all.
Whatever is used, the same questions apply. Will it survive the weather where it is going? Can it be knocked over by a visitor or a pet? Is it safe near a light or a cable? A display that answers those three questions is a display that can be left alone on the night, which is exactly what a host wants.
Working with children
Carving is a sharp activity, so the division of labour matters. A younger child can choose the pumpkin, draw the pattern, scoop the seeds with a large spoon and decide where the lantern will stand. An adult should make the cuts and handle the saw. Older children can carve with a proper saw and close supervision. This split keeps the work shared and the hands safe, and it produces a better lantern because the pattern was drawn by the person who will look at it most.
Start here
If you have one evening before Halloween, read How to carve a pumpkin that lasts and follow the order. If you want to know why the lantern is a lantern at all, read The jack o lantern first. Both pages link onward to the rest of the site.
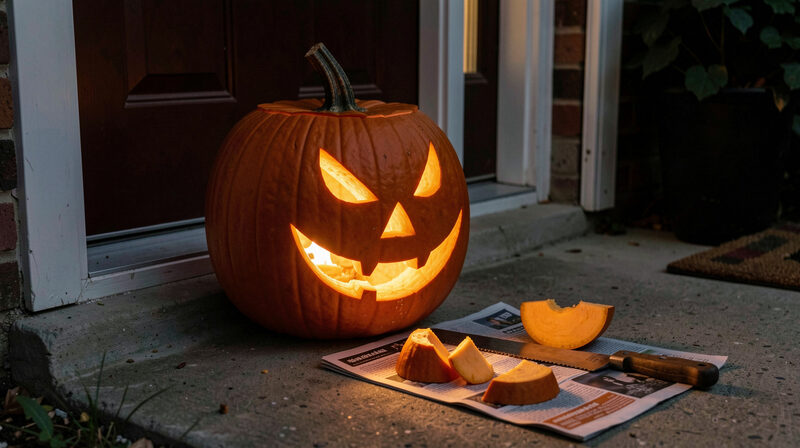
Decorating and Carving
How to Carve a Pumpkin That Lasts
Choose the right pumpkin, cut a sound lid, carve a clean pattern and slow the rot with simple steps that keep a jack o lantern firm.
Choose a sound fruit, cut a notched lid, thin the wall, slow the rot.
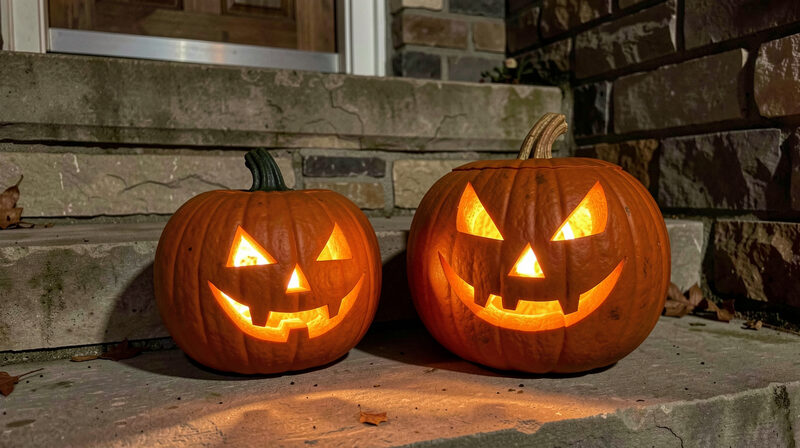
Decorating and Carving
The Jack o Lantern
Why the lantern began as a carved turnip in Ireland and Scotland, who carried the custom to America and how the pumpkin took its place.
Why the lantern began as a turnip and ended as a pumpkin.